Installing Concrete On a Web Host
To get started, you will need a hosting environment. For most people, this means buying a hosting plan. Concrete CMS will run just about anywhere, but we do have some hosting partners worth checking out. You can also do local development with Concrete by installing the various required components and starting a local web server.
- Download the latest version of Concrete CMS.
- Move or upload that zip file to your web server or your web environment. You'll want to unzip the file in a web-accessible folder in your webspace. Usually this folder is
public_html. If you want to run Concrete in a subdirectory, you can create a new folder like "new-site" and unzip your Concrete files in there. - After you unzip the file, it will add some new folders and an index.php.
- The folders
application/files/,application/config/,packages/andupdates/will need to be writable by the web server process. This can mean that the folders will need to be "world writable", depending on your hosting environment. If your server supports running as suexec/phpsuexec, the files should be owned by your user account, and set as755on all of them. That means that your web server process can do anything it likes to them, but nothing else can (although everyone can view them, which is expected.) If this isn't possible, another good option is to set the apache user (either "apache" or "nobody") as having full rights to these file. If neither are possible,chmod 777tofiles/and all items within (e.g.:chmod -R 777 files/*) - Create a new MySQL database and a MySQL user account with full permissions on the database. Make a note of your database server (usually "localhost") as well as the database name, and the name and password for the database user that has access to that database.
- Visit your site, "http://example.com", or "http://example.com/new-site/" if you extracted the Concrete zip into a folder called "new-site". You will see a helpful install screen like this:
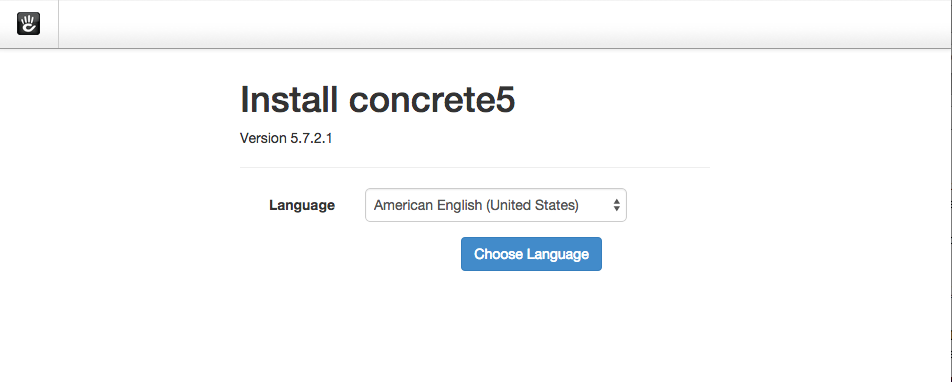
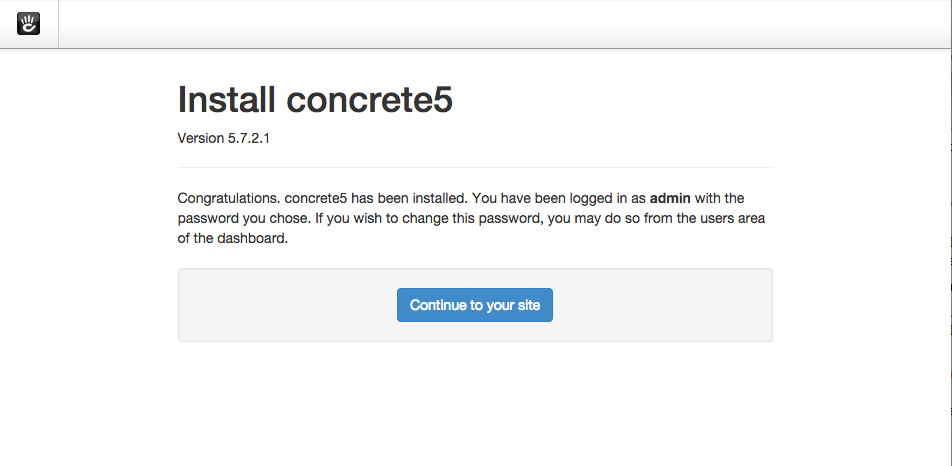
This means things are working. Click through the installation process, which should check your requirements, and then through to a page where you can specify details about your site, and database access information. Finally, installation should proceed through a number of steps as parts of Concrete are installed, and finish on this message:
Installing Concrete CMS with Composer and the Command Line
More versatile and maintanable than simply downloading a zip file from concretecms.org, Composer is a better way to install Concrete CMS. Before you begin this process, you’ll need to have a local development environment available on your development machine, and you’ll need to know how to configure it. This development environment needs to conform to the minimum system requirements of Concrete. It will need PHP and MySQL installed and running, and you’ll need to know how to access them via the command line. This guide may touch on some of these topics, but if any of them are wholly unfamiliar you’ll need to do some additional reading.
Create a Directory for Your Site
First, create a directory for your site in the directory where your development sites are normally installed. I’m going to create a site named “Hello World”. First, let’s create a database for your Hello World application. Run the mysql client with a user capable of creating a database (such as root) and create a Hello World database:
create database hello_world
Exit out of MySQL back to the hello-world directory. Now, we’re going to install Concrete via composer. (Note: this guide assumes you have composer installed on your development machine. If you don’t, you’ll need to head to http://getcomposer.org/ and install composer from there.)
composer create-project -n concretecms/composer hello_world
This will install Concrete and its PHP dependencies in a directory named hello_world.
Installing Concrete CMS via the Command Line Utility
Now it’s time to install Concrete. Let’s use Concrete’s interactive installation command line utility:
cd hello-world
./vendor/bin/concrete5 c5:install -i
Enter the configuration details of your local database and your local site, and press Enter. Installation should be complete in less than a minute:
Accessing Our Site
Now that we’ve installed concrete, let’s browse it. In a production environment you’d want to configure a web server like Apache or Nginx to serve this content – but that’s not necessary in our development environment. Instead, let’s get going quickly by using PHP’s built-in web server to launch and serve and the contents our hello_world directory. First, change into the public/ directory and run this command from within the directory:
cd public
php -S localhost:8000
This should get you a fully functioning server in a matter of seconds. Next, visit http://localhost:8000 in your web browser.
You now have a fully functioning Concrete CMS site, tied to a local development environment! Now that Concrete is up and running, let’s take a quick tour to familiarize (or re-familiarize) ourselves with the setup, features and functionality that Concrete delivers.